Sunday, October 23, 2011

Time to buy some supplies

Innermost rib.

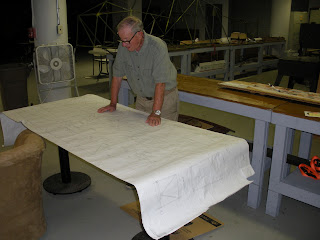
The innermost rib of each wing is a bit different.  It is 3/8 inch thick instead of 1/4 inch like all the others.  So, Joe noticed this on the drawing, and made a note to purchase some aircraft grade plywood in 3/8 inch thickness.  BTW, it is rather expensive.  It must not have any holes or knots, and must be "certified".  So, Joe will buy some, or if you have some you would like to donate, let us know!

Sunday, October 16, 2011

Cool Piece of Hardware

This metal assembly attaches to the innermost rib

The wing has a rather large force on it (the weight of the airplane, plus G forces), so it needs a beefy piece of hardware to attach it to the fuselage.  This hefty paper weight boat anchor is the device that does the work.  it bolts to the main spar via the holes on the left.


Approximate position to fuselage.

A single bolt at the tapered end attaches the hardware to the fuselage at this position (top of windshield).

Sunday, October 9, 2011

Hmm . . . maybe

Joe's latest purchased.

Joe bought this aileron control arm on the internet (ebay?), and planned on using it for the forward control that the instructor uses.  Unfortunately, it was not quite what he needed.  It seems that there are a lot of parts for Aeronca's, and they are often different.  So, if someone thinks they have a certain part, it may be that it is for a different year or model.  

Anyhow, Joe said this piece, though not quite right, may work if it is reworked.  Stay tuned . . . 

Sunday, October 2, 2011

Latest challenge

A man deep in thought.

When I saw Joe staring at the drawings, I could tell he was facing a new challenge.  So, should I give him a penny for his thoughts?  I took a chance, "Hey, Joe, what are you doing?"

The problem.

Joe showed me the front of the fuselage where the motor mounted.  Shown in the above photo is one of four heavy duty washers that are welded to the fuse for bolting to the motor mount.  This works well for a motorized airplane, but will it work for the glider.  Remember, we are building a glider from a motorized airplane.

Back of the washer and the tube welded to it.

The above photo shows the rest of the story.  Yup, looks like a big bolt goes through the pipe and washer, then through the motor mount.  But, what to do on a glider.  The third seat has to attach here.


Glider drawing, oops.

This drawing shows the same attachment point on the glider.  The assembly is quite different.  Instead of bolts running fore-aft, they are transverse.  Instead of four washers, there are eight plates, and the attachment is completely different--hmm, what to do?

Stay tuned . . . .