Sunday, April 29, 2012

Do you speak Draftese?

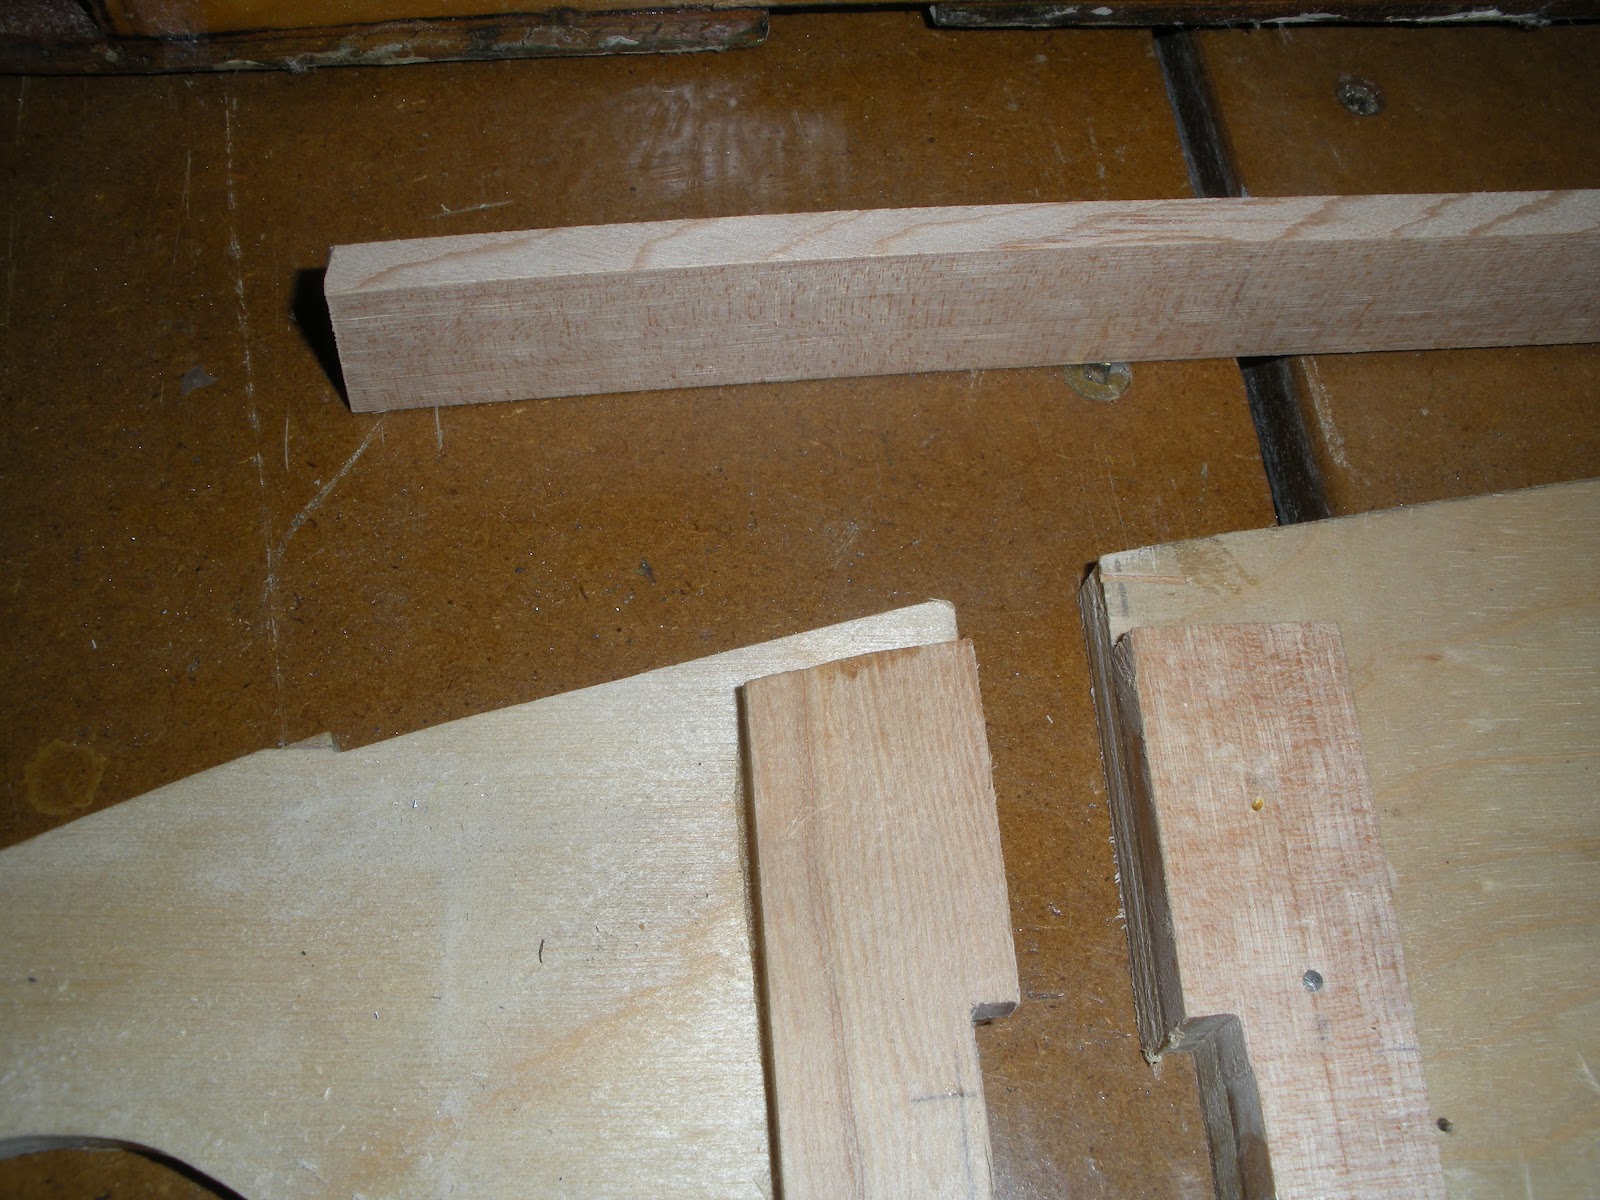
Drawing has dotted lines. . . ?

The drawing has a set of parallel lines that was confusing for weeks (actually, it was probably months). According to Draftese, dotted lines means a hidden line, which means something is behind something and out of sight. Last week the guys had a brainstorming session and figured out that the something was, and realized it was a reinforcement strip on the back of the rib. They then fabricated the strip and glued it in place as you can see in the photo above.

Chef Joe set up a production line for sandwiches at yesterdays work day.

I took this photo for John (in the middle, Dick on the left, Leo on the right). The photo will be used in an article that John is writing for the Martin Museum Newsletter.

Sunday, April 22, 2012

Butt Ribs

First, I want to set the record straight. I asked around and found out the reason these ribs are called "butt ribs": they "butt" up against the fuselage. Hmm, I shoulda guessed. Oh well.

This photo shows the two butt ribs are coming along nicely. I included an old but rib from another similar Aeronca for comparision.

Closeup.

Note: I added the thin strip of wood to the photo that is applied to the top and bottom of the butt rib.

This is how the thin strip of wood is attached to the old butt rib. Note the slot for the spar.

Oops. someone made a notch for the thin wood strip. Not supposed to be there :-(

The good news is that Joe made a right and left butt rib, not two right ribs.

Even the tails of the ribs are made right and left.
BTW. I suppose that if Joe had made two right hand ribs, then we could have said that two rights make a wrong. Sorry, I couldn't resist . . .

Here Joe is filling the unwanted notches with wood strips. I like the clamps. My dad a pair of these, and when you need them (for an irregular shape), nothing else will do.

Closeup of Joe's handiwork.

Close up of old butt rib


Nice hole. 


Sunday, April 15, 2012

Aileron Transition Ribs

Where the end of the ailerons meet the wing's full length rib, a special rib is needed.


Wing rib (cut short to allow for aileron).

Drawing of full length wing rib (i.e. no aileron).
Sorry, I didn't have an appropriate photo :-(

Transition rib.

Now, let me see if I can explain the photo of the transition rib. There are two wood pieces, one tan (on top), and one brown (on the bottom). The brown wood fills the rib and matches the wing where there is "no rib". The tan wood is glued next to the brown wood, and matches the wing ribs where an aileron is located. So, on one side of this transition rib is for an aileron, and on the other side is for "no aileron". Have I totally confused us yet?

Note that because the tan wood is glued to the side of the rib, it sticks out about a quarter of an inch. This is done so that a thin piece of material (wood or thin aluminum) can be attached to it. That piece of thin material is used to close the space at the back of the wing, just in front of the aileron. Are you confused yet?

As time goes by, the above explanation will make more sense. So, please stay tuned as we continue.