

The old and new
The top root rib is from another Aeronca, but is very close to what we need. It gives us a good idea of what the finished piece will look like. The bottom root rib is actually the beginnings of two root ribs. There are two pieces of 3/8" plywood attached together (Yes, Joe must have ordered some aviation plywood) and part of a CAD drawing is glued to the front. They have been cut to shape, and further details will be added.

Spar hole and reinforcement
Here you can see the details of the old root rib. First, around the edge you will notice the wide wood slat that the fabric attaches to. It is reinforced with 90 degree gussets for strength. The hole in the middle is for the front spar. You will notice that there are two strips of wood that reinforce the left and right side of this hole. There is a notch in each of these, and that makes room for the "yellow thingy".
End of spar (not shown) goes into this part of the yellow thingy
This yellow thingy is very important because it is the main attachment point for the wing. Here the weight of the airplane is transferred to the wing, which is a lot, especially under max load. Remember, the wings are typically stressed for maybe +4/-2 Gs (+6/-4 in some newer planes) and all that stress amounts to around five or six tons. Divide that by two (left and right wings) and you have around three tons of force on this "yellow thingy".

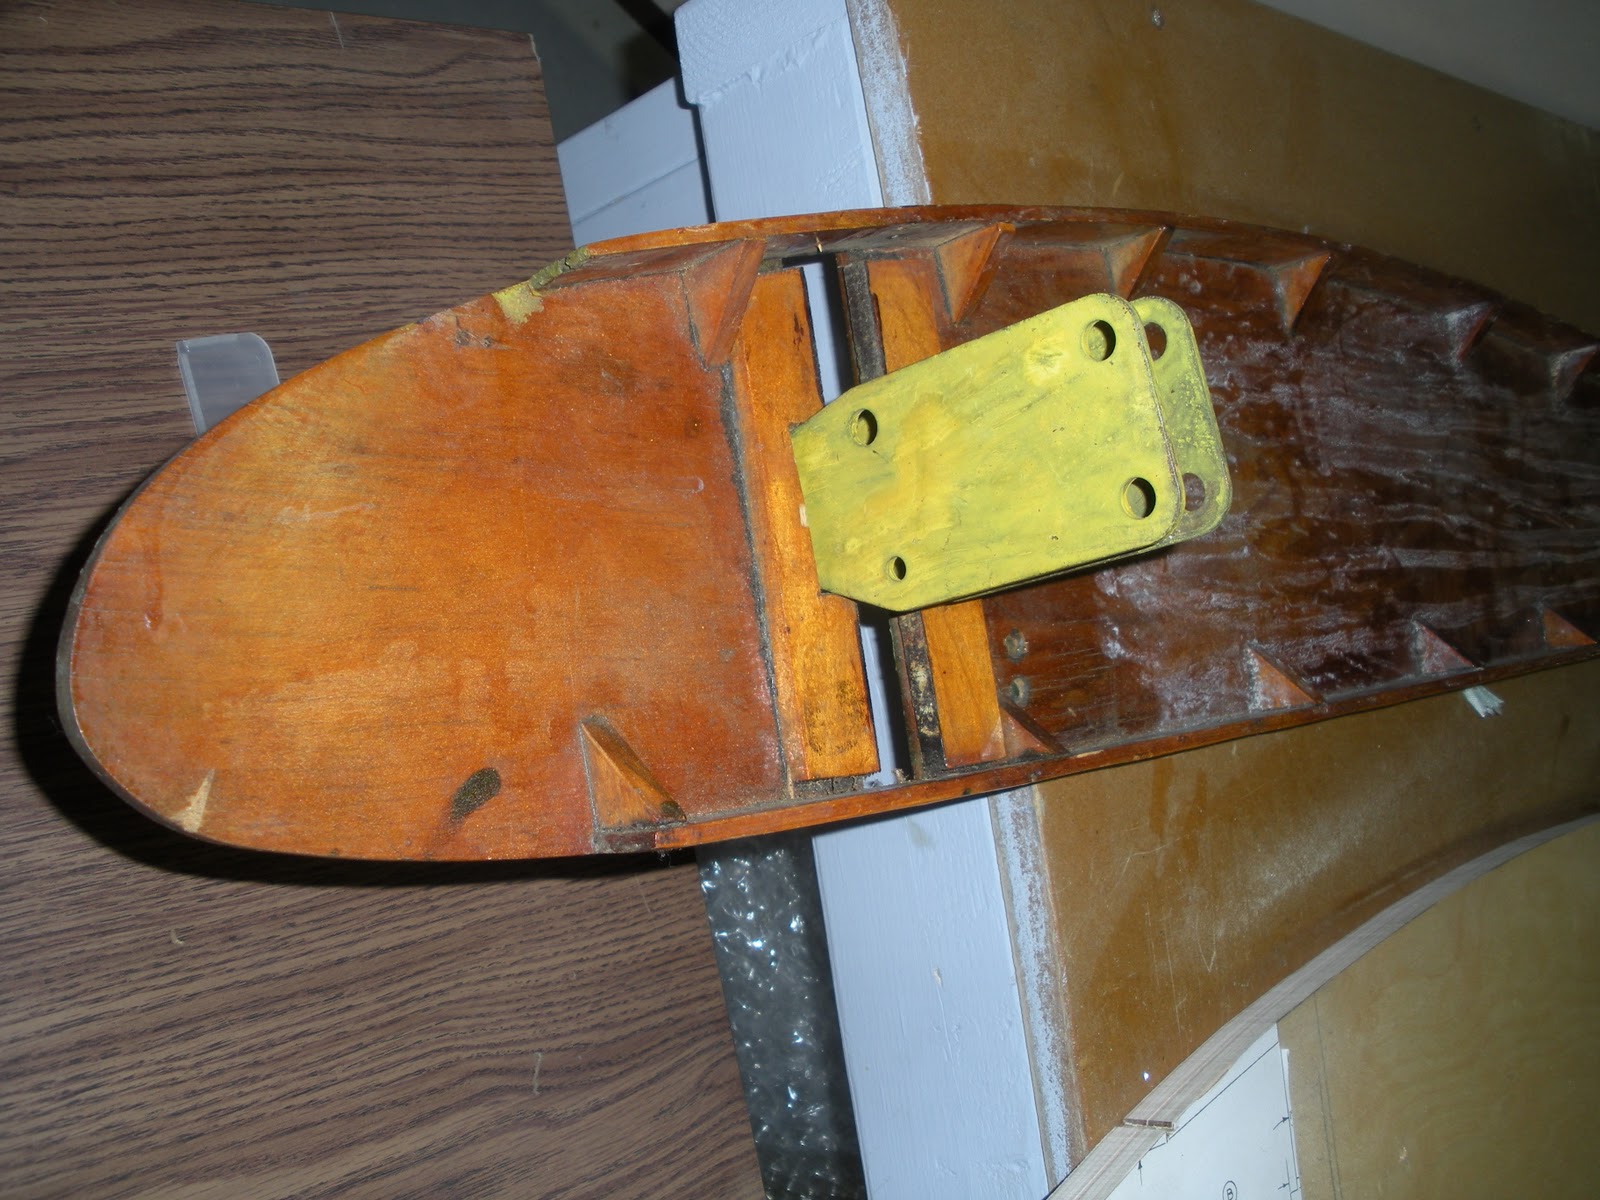
The yellow thingy goes through the root rib
I flipped over the root rib so you could see the other end of the yellow thingy.

The yellow thingy attaches here to the fuselage
Leo held the assembly up to the fuselage so you could see how a single bolt attaches the yellow thingy (and wing) to the airplane.
Does anyone know what this yellow thingy is called?
No comments:
Post a Comment